Visit: document what was done, with photos and a tab
What it is
Section titled “What it is”Visit is where you keep the full history of a visit: what was done, instructions given to the customer, before/during/after photos, and—if your studio uses tabs—the items and payment for that visit, all in one place. It’s different from a tab: the tab handles the money, while the visit documents everything, with or without a charge.
When to use it
Section titled “When to use it”- You want to save before and after photos of an arm sleeve tattoo, with the correct date and time.
- You need to note the instructions given to the customer (aftercare, follow-up) so you can refer to them later, during another visit.
- You want to open a visit for a customer who arrived without an appointment, without going through the Calendar.
Before you start
Section titled “Before you start”This article covers the Service screen. If you don’t see this menu, ask the studio owner to enable the module for your business type.
If you can’t open, create, or finalize a visit, ask the studio owner to grant you access under Access → Roles. Deleting a visit that was opened by mistake requires a higher access level than viewing and editing. If you don’t see the button, that’s why.
Step by step
Section titled “Step by step”Step 1 — Open the Visit screen
Section titled “Step 1 — Open the Visit screen”In the menu, click Service. By default, the list shows open visits. Use the status and tattoo artist filters to see completed or canceled visits. On your phone, the filters are under the filter button (the sliders icon) next to the search bar.
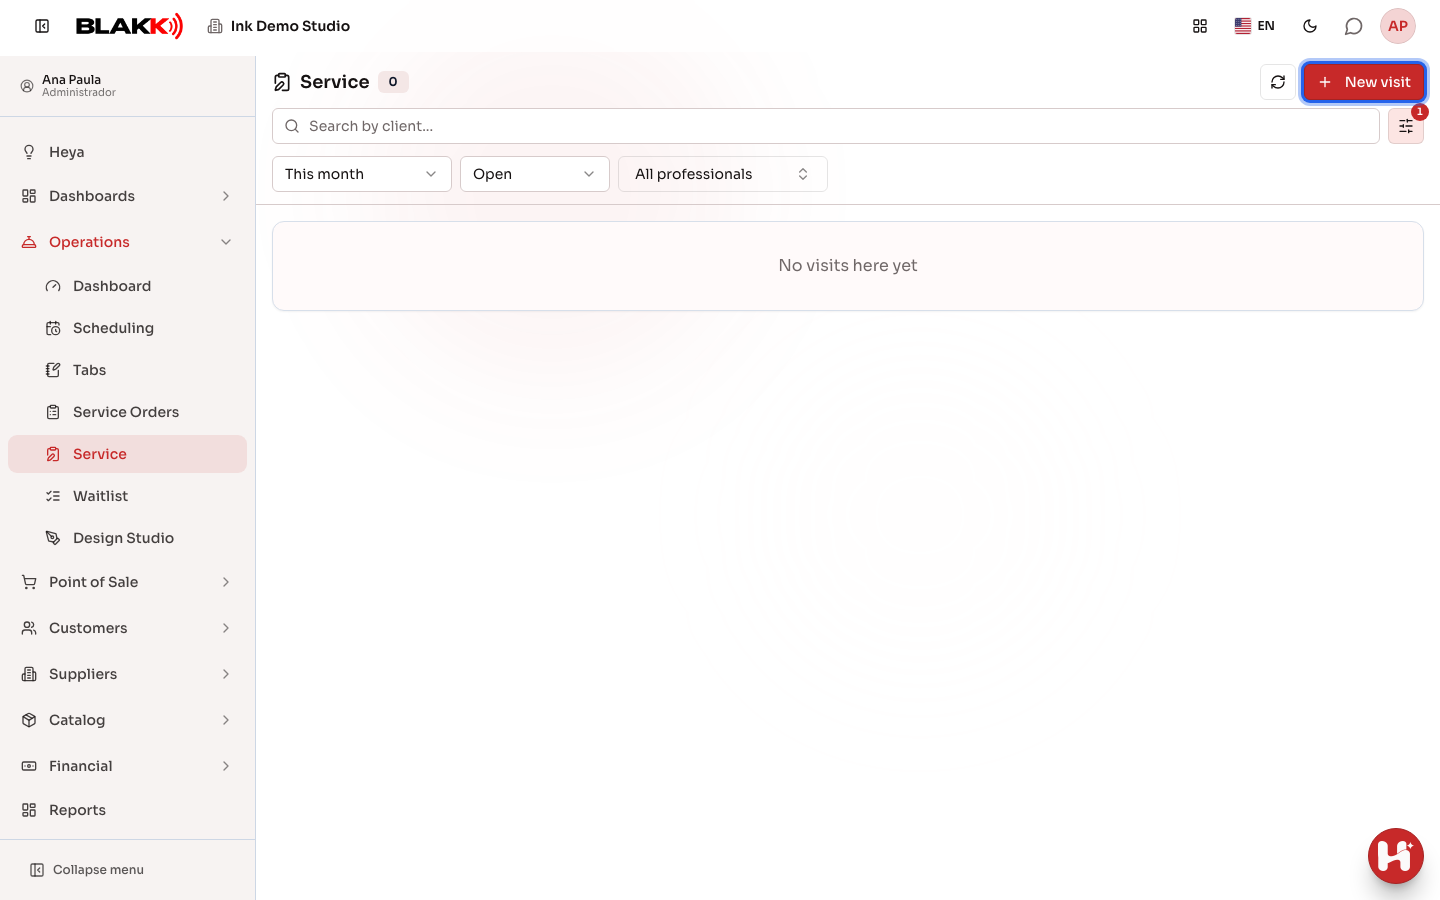
You can also open this screen directly from a scheduled appointment: in the Calendar, open the appointment and click Start visit. The customer and tattoo artist will already be filled in.
Step 2 — Open a walk-in visit
Section titled “Step 2 — Open a walk-in visit”Click New visit. Search for an existing customer, add a new one right there (using the + button next to the field), or enter just a name to open a visit without a customer profile. The tattoo artist is optional—select Set later if you don’t know yet. Click Open visit.
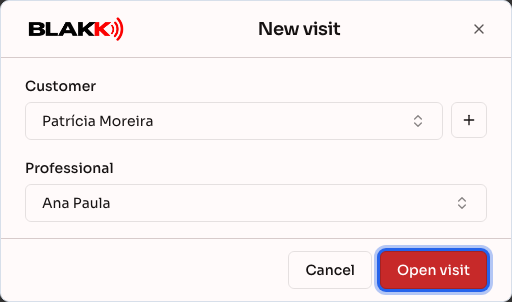
If the selected customer already has an open visit today, the screen will let you know and offer Continue today’s visit—or Open another visit if this really is a second visit.
Step 3 — Document what was done
Section titled “Step 3 — Document what was done”In the record tab, use the Visit notes field to write down what was done, your observations, and instructions for the customer. There’s no character limit.
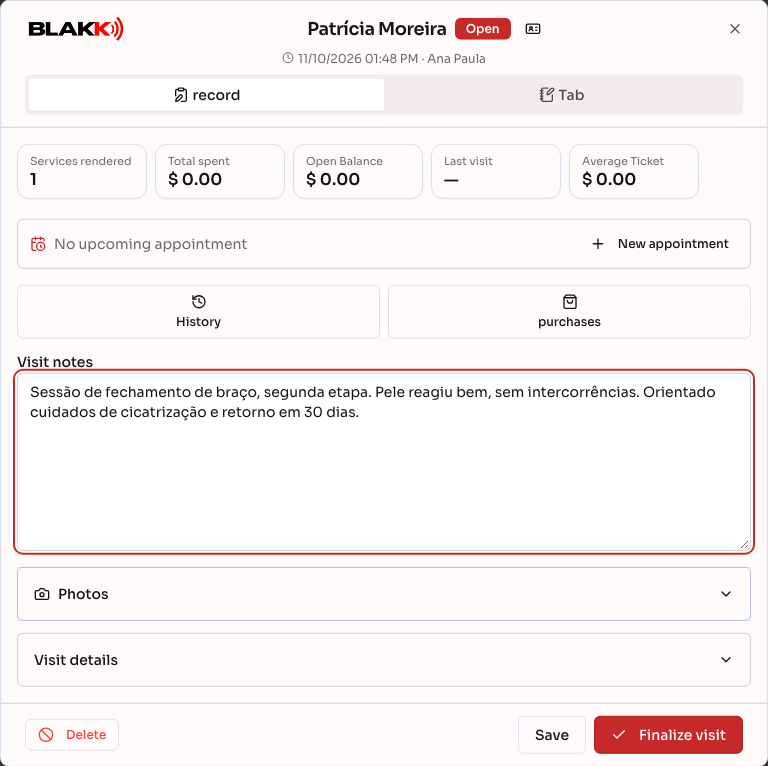
If the customer has a profile, the tab also shows:
- at the top, an alert with any tags marked as important in their profile;
- their stats: Services rendered, Total spent, Open Balance, Last visit, and, if you use tabs, Average Ticket;
- their next scheduled appointment, with shortcuts to Edit appointment and New appointment (which take you to the Calendar);
- the History and purchases buttons, which open full-screen views of previous visits (including photos and the anamnesis form for each visit) and their purchases. Users with access to anamnesis forms will also see Anamneses between the two.
The icon next to the customer’s name at the top opens Customer Summary. It shows how much they’ve spent, their open balance, upcoming appointments, and recent activity, along with the Appointments, Services rendered, Anamneses, and purchases tabs, their forms, and their Registration, without leaving the visit. You can still access the full customer profile from the summary by clicking Edit.
If a service added to the tab requires an anamnesis form, the Service anamnesis card will appear. Click Fill in to open the form for the customer to fill out right there, or View to view a form they completed today or one that’s still valid. These buttons only appear for users with access to anamnesis forms. Without that access, the card only shows the form name.
Under Visit details, you can change the tattoo artist assigned to the visit and write an Internal note, which won’t appear on any customer documents.
Step 4 — Attach photos
Section titled “Step 4 — Attach photos”Open the Photos section and click to add a photo under Before, During, After, or Other. The photo uploads right away—there’s no separate Save button.
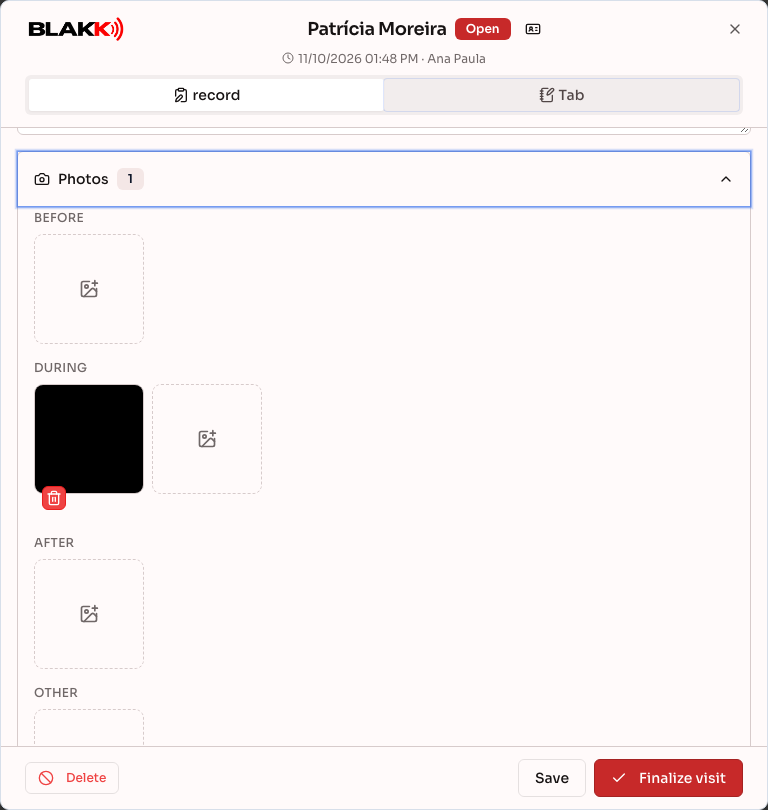
Photos are kept even if you remove one by mistake. Removing a photo only hides it from the screen; the file remains in the history. After the visit is finalized, photos become read-only.
Step 5 — Add items to the tab
Section titled “Step 5 — Add items to the tab”In the Tab tab, click Service/Product to add the arm sleeve tattoo charged for this visit. The tab is created automatically when you add the first item, so you don’t need to create it beforehand.
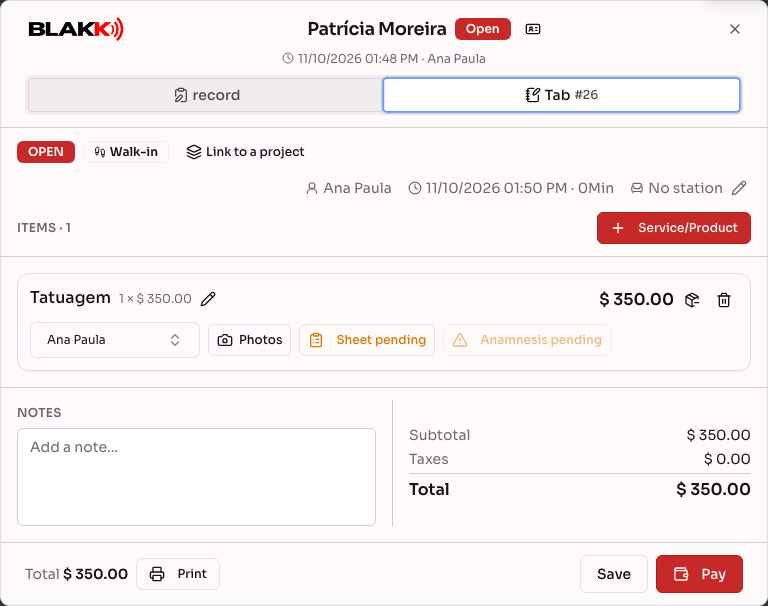
It’s the same tab you’re used to, and you can edit it as usual—add more items or change the staff member for an item—but now it’s inside the Visit screen. The total appears at the bottom, and the Pay button opens the payment screen. Once paid, you can issue a service invoice using the Issue invoice button at the bottom (for businesses in Brazil). See Service invoice (NFS-e).
The Print button at the bottom prints the tab on a letter-size page (on your phone, it creates a PDF to share) using the Tab template. Nothing is saved until you click Save, so if the tab has an unsaved note, the screen will ask you to Save before printing.. See the step-by-step guide in Tab.
Step 6 — Finalize the visit
Section titled “Step 6 — Finalize the visit”When you’re done, go back to the record tab and click Finalize visit (on your phone, click Finalize). The system asks you to confirm—and if the notes field is empty, it asks Finalize without notes?. After the visit is finalized, you can’t edit the notes directly. You can only correct them by adding an addendum using Add addendum.
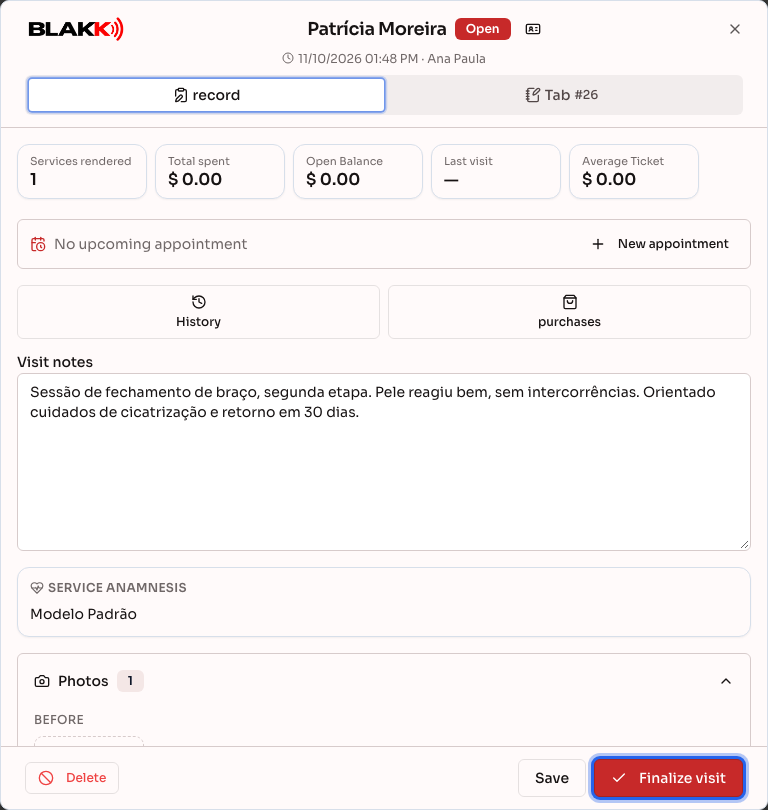
If the tab still has an unpaid item, the screen will let you know and take you to the Tab tab. You can’t finalize a visit with an outstanding charge.
What happens next
Section titled “What happens next”- The notes become read-only. Any correction or addition after that must be entered as an addendum—a new entry with a date and author, added to the original notes without deleting anything.
- If the visit came from an appointment and doesn’t have a paid tab, the appointment is marked “Completed” when you finalize the visit.
- A single click on “Save” saves everything that’s been changed—the notes, staff member, internal note, and tab header—no matter which tab you’re on. You’ll see the Visit saved successfully message, and the visit will stay open on the screen. Tab items and photos are saved as soon as you add them.
- If you accidentally delete an open visit using Delete at the bottom of the Notes tab, the existing notes aren’t deleted. The visit is canceled and the notes are kept, but its appointment and tab become available for a new visit.
- A finalized visit displays the Integrity code below the notes. This proves the text hasn’t been changed since the visit was finalized.
Common mistakes and questions
Section titled “Common mistakes and questions”Q: What’s the difference between a visit and a tab? A: The tab handles only the money—items, prices, and payment. The visit documents everything about the visit (notes, photos, and instructions), with or without a charge. A visit can exist without a tab, and a tab can exist without going through the Visit feature.
Q: I created a tab directly from the Tabs screen without opening a visit. Will it appear in the customer’s history? A: Yes. In the Services rendered tab of Customer Summary, the tab appears alongside visits, sorted by date, with its status (open, paid, canceled, etc.). If it’s been paid, the sale number and date are also shown. While it’s unpaid, the card displays Not yet a sale. It also counts toward the total at the top of the tab (except for canceled tabs). The With photos and form type filters only show visits, because a tab by itself doesn’t have photos or a form. If you don’t see tabs there, ask the studio owner to give you access to Tabs under Access → Roles.
Q: Do I need a tab to open a visit? A: No—a visit can have just notes and photos, with no charged items. The Tab tab only appears if your studio uses this module.
Q: Can I correct the notes after finalizing a visit? A: You can’t edit the original text; it’s locked. Add an addendum instead. The new text is added with a date and author, without deleting what was already written. This is intentional, so the history is never rewritten.
Q: I clicked Save. How do I know it worked? A: You’ll see the Visit saved successfully message, and the visit will stay open with your changes. You don’t need to leave the screen to check. If something can’t be saved, a red error message will appear instead, and your text will remain on the screen so you can try again.
Q: Will the photos I took still be saved if I remove one by mistake? A: Yes—removing a photo only hides it from the screen. The file stays in the system history, even if it’s no longer visible.
Q: Can I open a visit for a customer who arrived without an appointment? A: Yes—click New visit right from the Visit screen, without going through the Calendar.
Q: Why can’t I delete a visit? A: Either the visit has already been finalized (only open visits can be deleted), or your access doesn’t include this permission. Ask the studio owner to grant access under Access → Roles.
Q: What happens to the tab if I delete the visit? A: If the tab was created from the visit, it’s canceled along with the visit—unless a payment has already been recorded. In that case, the system will ask you to resolve the tab first. If the tab already existed (for example, if reception opened it), it remains as is and is simply unlinked from the visit.