Customers: add records, apply tags, and view history
What it is
Section titled “What it is”This is the complete profile for each customer at your studio — name, contact information, identification document, addresses, and tags, along with the history of everything they’ve purchased. It’s different from the quick profile that appears in a Tab or Appointment: here, you can view and edit everything at once, including purchase statistics. And Customer Summary brings everything a customer has done at your studio together on one screen.
When to use it
Section titled “When to use it”- A new customer is getting their first sleeve tattoo, and you want to create a complete profile—not just add their name and phone number.
- You need to alert your team about something important, such as an allergy or restriction, before the customer’s next visit.
- You want to know how much a customer has spent at your studio and when they last visited.
Before you start
Section titled “Before you start”If you can’t add, edit, or delete a customer, ask the studio owner to grant you access in Access → Roles.
Step by step
Section titled “Step by step”Step 1 — Add a new customer
Section titled “Step 1 — Add a new customer”Click New Customer and fill out the Personal Data tab—name, phone number, email, and CPF or CNPJ. Only the name is required. The phone number field has a country code on the left, which defaults to your studio’s country code. Change it only if the customer is from another country, and enter the number in the field next to it.
The tabs appear in a single row at the top of the profile: Personal Data, Contacts, Addresses, a tab for each type of record used at your studio (for example, Tattoo and Piercing), and Anamnesis when the Anamnesis module is enabled and you have access to it. The Anamnesis tab only appears after the customer is saved—the record requires a saved profile. If all the tabs don’t fit, an arrow appears at the end of the row. Click it or drag the tab row sideways.
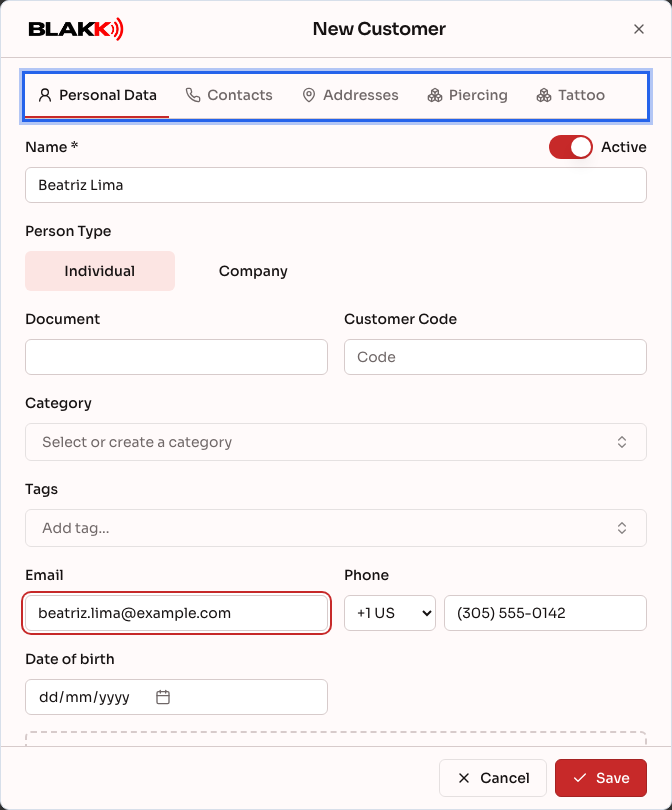
The Contacts and Addresses tabs let you add more than one entry—useful for a customer with both a work and personal phone number, or more than one delivery address. Nothing in these tabs is saved until you click Save in the footer, including any rows you add or remove. If Save detects an incomplete contact or address, it automatically opens the tab with the issue so you can fix it.
Step 2 — Add a tag
Section titled “Step 2 — Add a tag”Click Add tag…, enter a name, and choose Create. In the dialog that opens, choose Informational (a subtle chip next to the customer’s name) or Alert (shown in a highlighted amber banner as soon as someone opens the customer’s visit).
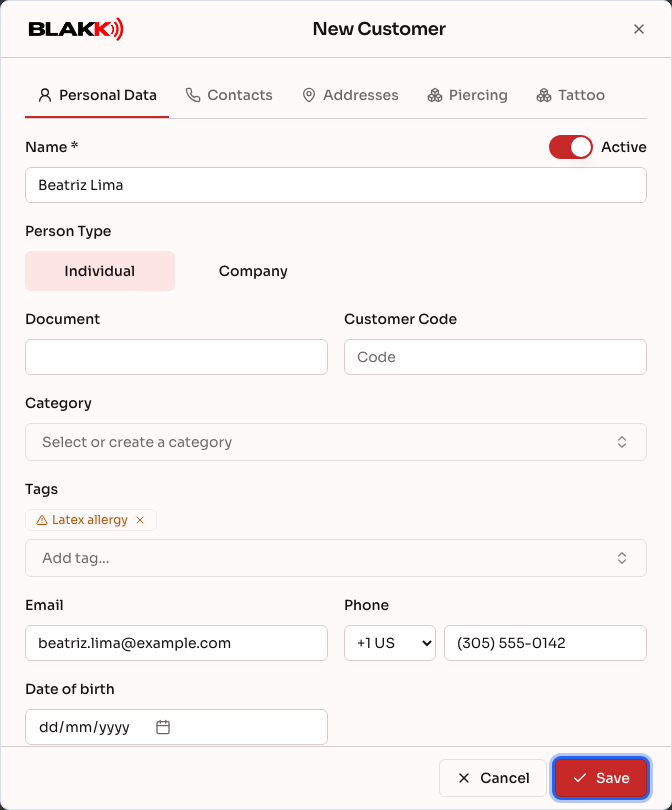
Tags are stored in a single catalog for your studio. The same tag can be used for multiple customers, and editing it (name, color, or type) updates it for everyone who has it.
Step 3 — View everything in the customer summary
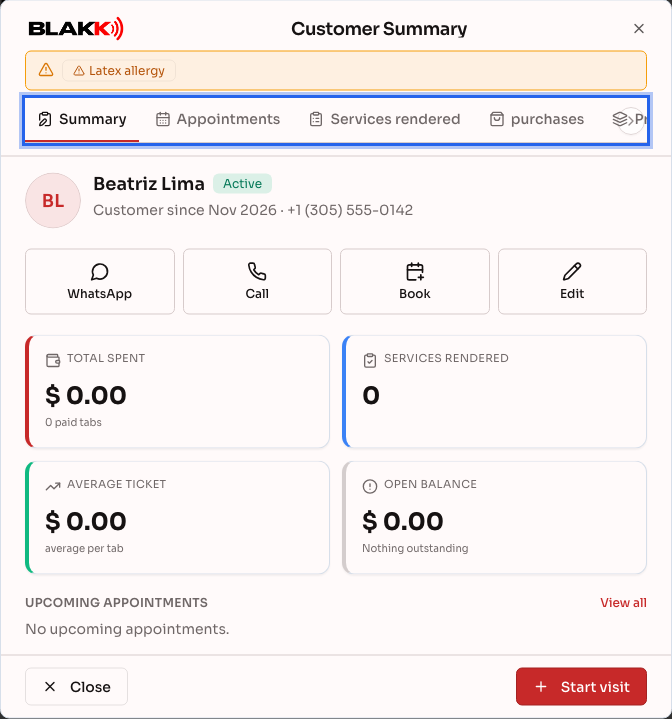
Section titled “Step 3 — View everything in the customer summary”In the list, click a customer’s Customer Summary icon. The Customer Summary opens with alert tags at the top, shortcuts for WhatsApp, Call, Book, and Edit, along with the customer’s stats: Total spent, Services rendered, Average Ticket, and Open Balance. After their first visit, it also shows Last visit and Frequency, as well as Upcoming appointments.
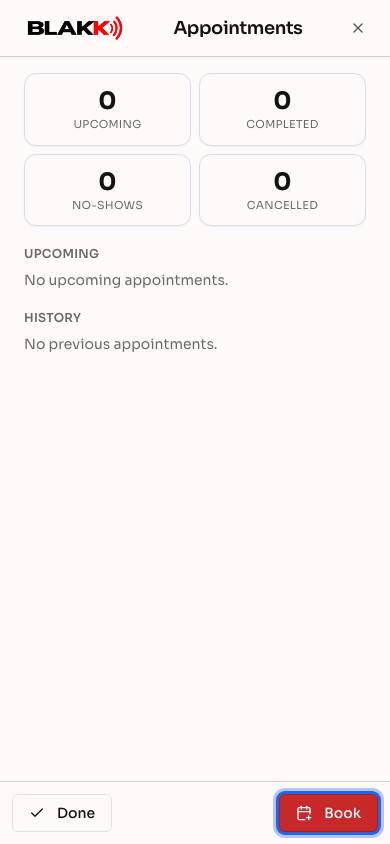
The other tabs appear in a row at the top: Appointments, Services rendered, Anamneses, purchases, a tab for each type of record, and Registration. Only tabs for modules enabled at your studio and available to you are shown. The footer button changes based on the open tab: Start visit in the Summary (or New Tab if you can’t start visits) and in Services Rendered, Book in Appointments, New Anamnesis in Anamneses, New Tab in Purchases, New record in records, and Edit in Registration.
Step 4 — View purchase statistics
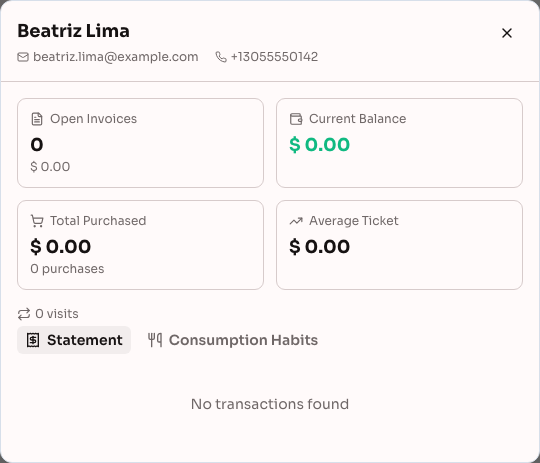
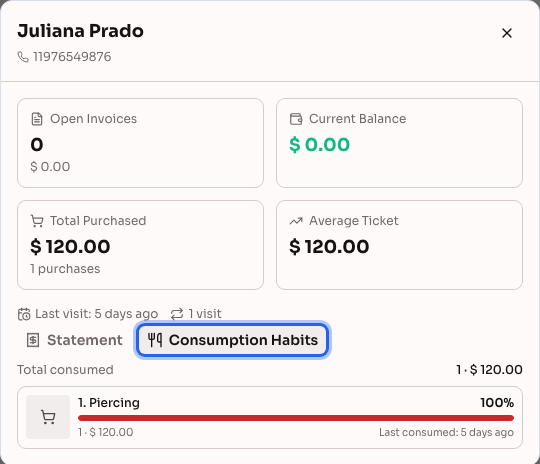
Section titled “Step 4 — View purchase statistics”In the list, click a customer’s Statistics icon. The screen shows Open Invoices, Current Balance, Total Purchased, Average Ticket, their last visit, and how often they typically visit. The Statement tab shows a statement of each sale and payment. (The Consumption Habits tab is covered in the next step.) Because this screen shows financial information, its icon is only available to users with access to Tabs or customer payments. If you don’t see it, ask the studio owner to grant you access in Access → Roles.
Step 5 — View purchase habits
Section titled “Step 5 — View purchase habits”In the same statistics screen, click the Consumption Habits tab. It lists the customer’s most frequently purchased items, from most to least popular: the item photo, quantity, total value, the item’s share of the total (shown as a bar and percentage), and when it was Last consumed. At the top, Total consumed shows the quantity of items and their total value. Click a photo to see a larger version.
Use this tab to tailor your service to the customer’s preferences: remember what they’ve already had, offer something similar, or send a promotion for their favorite item. No consumption recorded appears if they haven’t made any purchases yet.
Step 6 — Edit, deactivate, or delete
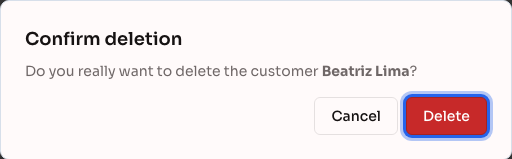
Section titled “Step 6 — Edit, deactivate, or delete”Click the pencil icon to edit, or the trash icon to delete. If the customer has any sales, appointments, or payments on record, the system won’t let you delete them. In that case, deactivate the customer using the Active switch in the Personal Data tab instead.
Step 7 — Use customer profiles and summaries on mobile
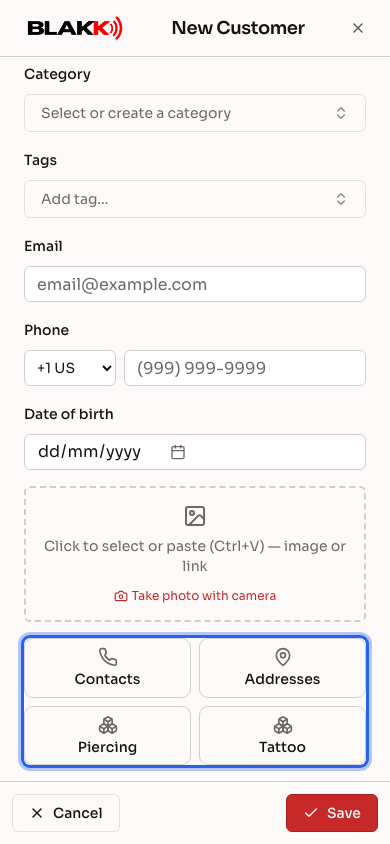
Section titled “Step 7 — Use customer profiles and summaries on mobile”On mobile, the profile opens directly to Personal Data, and the other tabs appear as large buttons below the form. Tap a button to open its tab full screen. To return, tap Done or the X at the top.
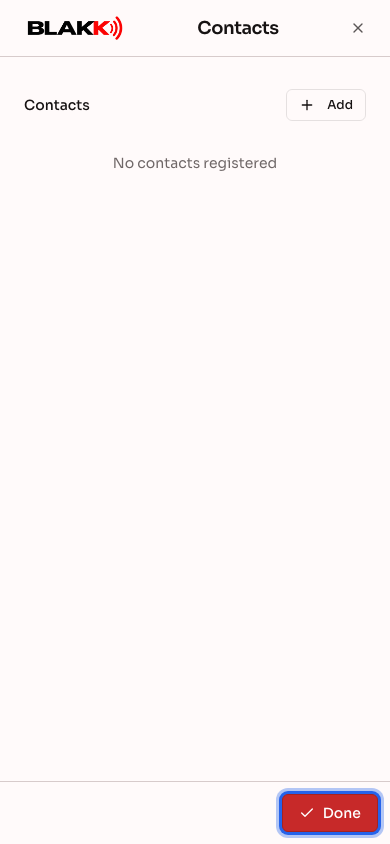
The Customer Summary works the same way: the Summary appears when you open it, and the other tabs are buttons below. When a tab is open, the footer shows Done and that tab’s action—for example, Book in Appointments.
What happens next
Section titled “What happens next”- An alert added here automatically appears in the customer’s Visit screen in a highlighted banner. There’s nothing else to set up.
- If you try to add or edit a customer with the same CPF/CNPJ as an existing customer, the screen notifies you and offers to merge the two profiles instead of blocking the save.
- Deleting permanently removes the record—unlike other screens in the system, this is not a soft delete. That’s why the system blocks deletion if there are any linked sales, appointments, or payments. You can deactivate the customer instead.
Common mistakes and questions
Section titled “Common mistakes and questions”Q: Where can I see a customer’s tattoos across multiple sessions? A: In the customer summary, open the Projects tab. Each project shows how many sessions have been completed and how much is left to pay. Click a project to see the details for each session.
Q: Do I need to enter a CPF, phone number, and email to add a customer? A: No—only the name is required. The other fields are helpful for day-to-day use (contact information and identification), but none of them are required to save the profile.
Q: Can two customers have the same CPF on file? A: No. If you try, the screen shows the existing profile and offers to merge the two into one instead of creating a duplicate. Duplicate phone numbers and email addresses are allowed.
Q: What’s the difference between an alert tag and an informational tag? A: An alert tag appears in a highlighted amber banner as soon as someone opens the customer’s visit. It’s meant for important notes, such as an allergy. An informational tag is just a subtle chip next to the customer’s name, with no special highlighting.
Q: Why can’t I delete a customer? A: They have a sale, appointment, or payment on record, and deleting them would erase that history. Deactivate the profile using the Active switch instead.
Q: If I edit a tag, will it change for every customer who has it? A: Yes. Tags are stored in a single catalog for your studio. Changing a tag’s name, color, or type (informational/alert) affects everyone who has it.
Q: How can I tell when a customer was added and who added them? A: Open the customer’s profile. At the bottom of the Personal Data tab, you’ll see Registered on (date and time) and Registered by (the user who added the customer). If the customer signed up through a public page (QR Code menu, online booking, or an anamnesis form), or the profile predates this information being available in the system, the author appears as Not informed.
Q: On mobile, the profile tabs turned into buttons. How do I get back to the form? A: Tapping a button opens its tab full screen. To return, tap Done, the X at the top, or your device’s back button. Going back doesn’t save or discard anything. The profile is still saved using Save in the footer.
Q: What’s the difference between the Customer Summary and Statistics? A: Customer Summary gives you the complete customer view: key stats, appointments, services rendered, anamneses, purchases, and records, with shortcuts to book an appointment or open a tab. Statistics focuses on finances: a statement of each sale and payment, the balance, and what the customer purchases most.
Q: Why doesn’t the Anamnesis tab appear when I add a new customer? A: An anamnesis form is linked to a saved customer profile. Enter the customer’s information, click Save, and open the profile again. The Anamnesis tab will appear if the module is enabled and you have access to it.
Q: Why don’t I see the Anamneses (or Appointments) tab in the Customer Summary? A: Each tab appears only if its module is enabled at your studio and you have access to it. If you can’t see a tab, ask the studio owner to grant you access in Access → Roles.
Q: Do the customer statistics include sales from all professionals or only the person who served them? A: They include everything—the customer’s entire purchase history at your studio, regardless of which tattoo artist handled each visit.