Campaigns: Short Links and QR Codes to Promote Your Business
What it is
Section titled “What it is”A campaign is a short link (and a QR code) that you share in a specific place: an Instagram story, a poster, a flyer, or a partner’s bio. Each person who clicks is counted, and then sent to the page you chose. Every campaign is assigned to an affiliate, who gets credit for the people who came through it.
When to use it
Section titled “When to use it”-
An influencer is going to post an Instagram story with a link to your studio: create a campaign assigned to them, set the destination to your booking page, and see how many people clicked.
-
You’re putting a poster in your storefront window with a QR code and want to know if it’s working.
-
You promote your business in several places at once (Instagram, WhatsApp, flyers) and want to compare which one brings in more people: create a separate campaign for each place.
Before you start
Section titled “Before you start”- You need to have at least one affiliate set up: the campaign is assigned to them (see Affiliates). To promote your own studio, add an affiliate with your studio’s name and a zero commission.
- The affiliates module must be enabled on your studio’s account. If you don’t see Campaigns in the menu, contact support.
- If you can’t create or edit campaigns, ask the studio owner to grant you access in Access → Profiles.
Step by step
Section titled “Step by step”Step 1 — Create the campaign
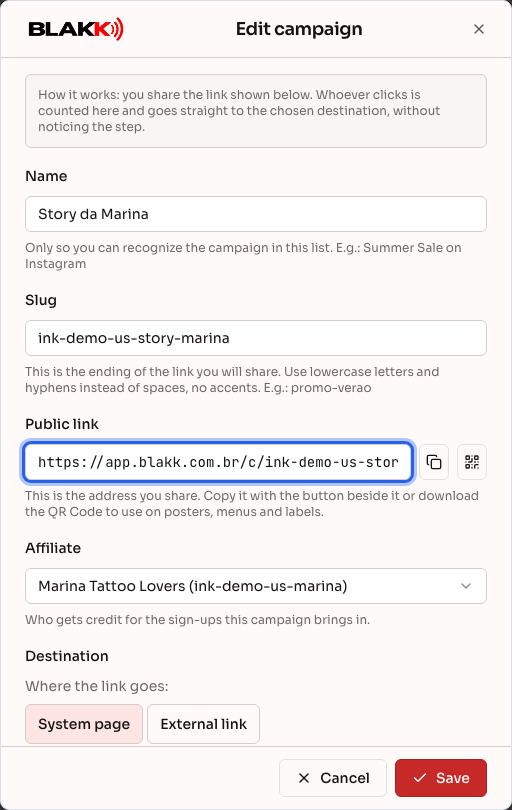
Section titled “Step 1 — Create the campaign”Open Campaigns from the Affiliates menu and click Add. Fill in the fields:
- Name: just for you to identify the campaign in the list (e.g., “Marina’s story”);
- Slug: the ending of the link, in lowercase letters with hyphens instead of spaces and no accent marks (e.g.,
marina-story). The slug must be unique: if it’s already in use, choose another one; - Affiliate: the person who gets credit for people who come through the campaign.
The Public link appears right below the slug. This is the link you share.
Step 2 — Choose where the link goes
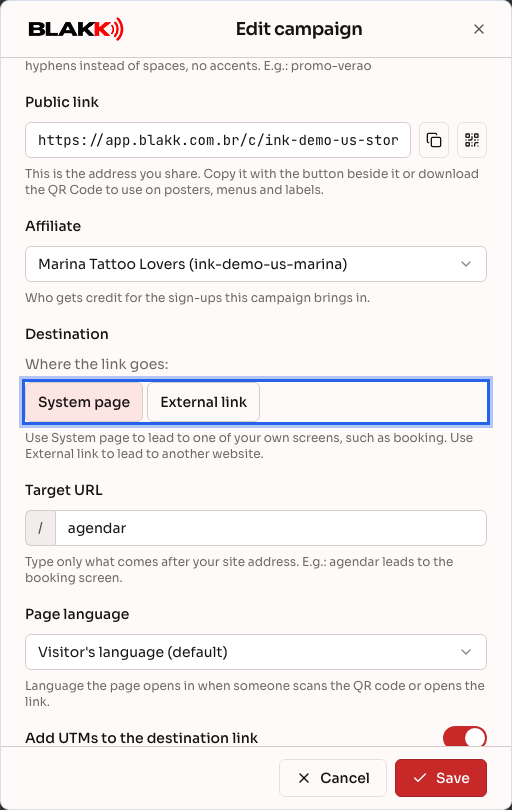
Section titled “Step 2 — Choose where the link goes”Under Destination, choose:
- System page: one of your pages. Enter only the part that comes after your website address (e.g.,
booktakes visitors to the booking page); - External link: another website. Enter the full address, starting with
https://.
For a system page, also choose the Page language it opens in and, under Languages the visitor can choose, the languages shown in the language selector.
Step 3 — Tag the source with UTMs (optional)
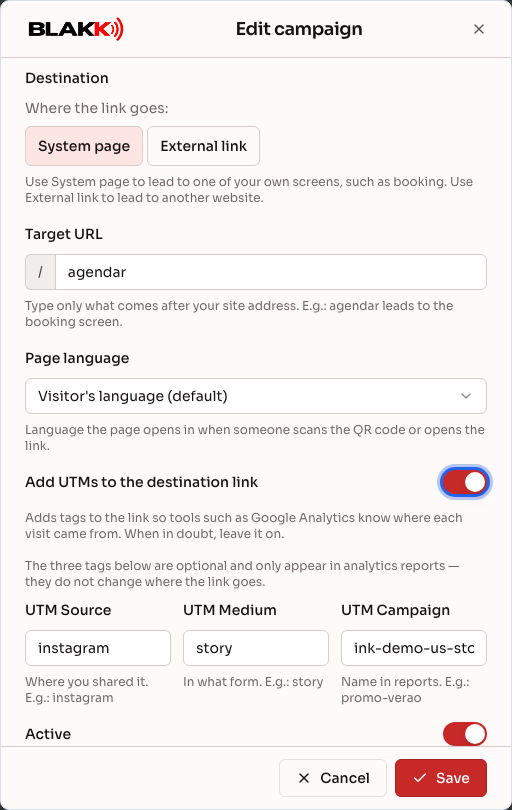
Section titled “Step 3 — Tag the source with UTMs (optional)”Turn on Add UTMs to the destination link if you use Google Analytics or another analytics tool. The three tags show where the visit came from: UTM Source (where you shared the link, e.g., instagram), UTM Medium (how you shared it, e.g., story), and UTM Campaign (the name shown in reports). They don’t change where the link goes. Leave Active on and click Save.
Step 4 — Copy the link or download the QR code
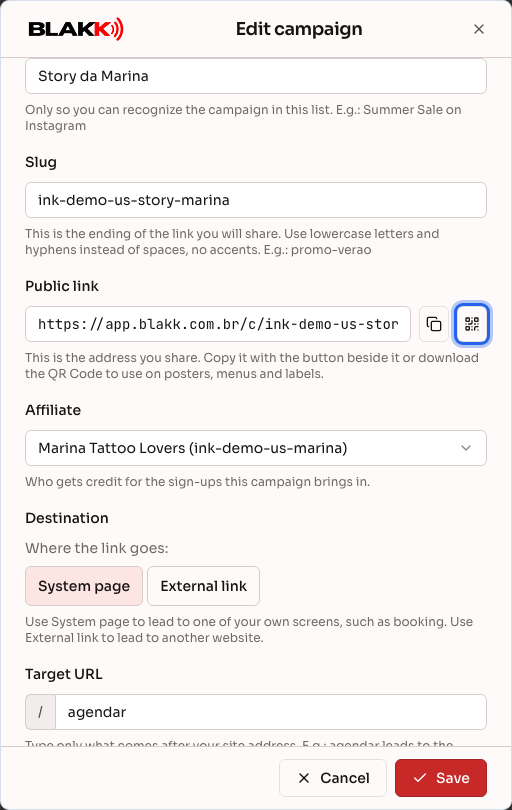
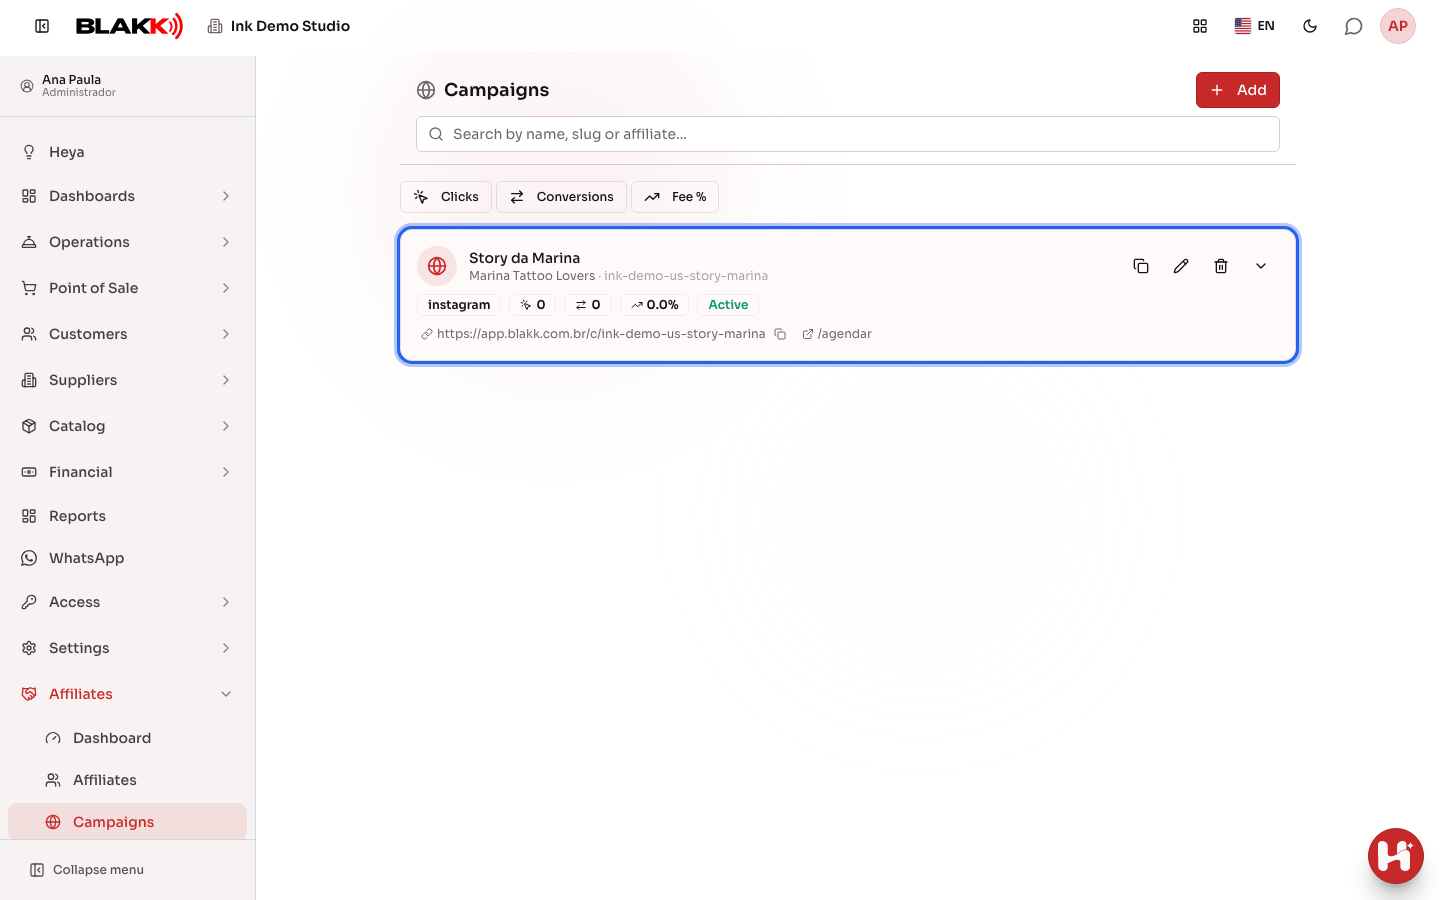
Section titled “Step 4 — Copy the link or download the QR code”In the campaign, next to the Public link, use Copy to copy the link for Instagram or WhatsApp, or click Download QR Code to download the image for a poster, menu, or label. In the list, the card’s Copy link icon does the same thing.
Step 5 — See how many clicks the campaign brought in
Section titled “Step 5 — See how many clicks the campaign brought in”The list shows the Clicks for each campaign. Click the card’s arrow to expand it and see the Click history (last 10), including the date, internet provider, website the visitor came from, and approximate Location (city and country, based on the internet address).
What happens next
Section titled “What happens next”-
People who click the link are counted and go straight to the destination without noticing the redirect. Automatic visits, such as WhatsApp link previews and search engine bots, aren’t counted.
-
Anyone who comes through the campaign and books within the next 30 days on the same phone or computer is linked to the campaign’s affiliate, and the sale earns that affiliate a commission (see Affiliates).
-
Details for each click are stored for 90 days. Daily totals remain available in the Affiliate Dashboard.
Common mistakes and questions
Section titled “Common mistakes and questions”Q: I’ve already printed the QR code and need to change the destination. Do I have to print it again? A: No. The QR code points to the campaign link, and you can change the destination at any time. Only changing the Slug breaks links and QR codes you’ve already shared.
Q: How do I turn off a link I’ve already shared? A: Edit the campaign, turn off Active, and click Save. Anyone who clicks the link will go to the home page.
Q: Can I delete a campaign? A: Only if it has no clicks. Campaigns with clicks can’t be deleted, so their history isn’t lost. In that case, turn off Active.
Q: What are UTMs for? Do I need to fill them in? A: No. They only show up in analytics tools like Google Analytics, where you can see where each visit came from. They don’t change where the link goes or how the system counts clicks.
Q: The same customer clicked several times. Does that count as several clicks? A: Repeat clicks within a few seconds count as one. In the Affiliate Dashboard, Unique clicks shows how many different people clicked.
Q: The slug I want is already in use. Why? A: Slugs are shared across the entire system, not just your studio. Choose another one, such as one that includes your studio’s name.